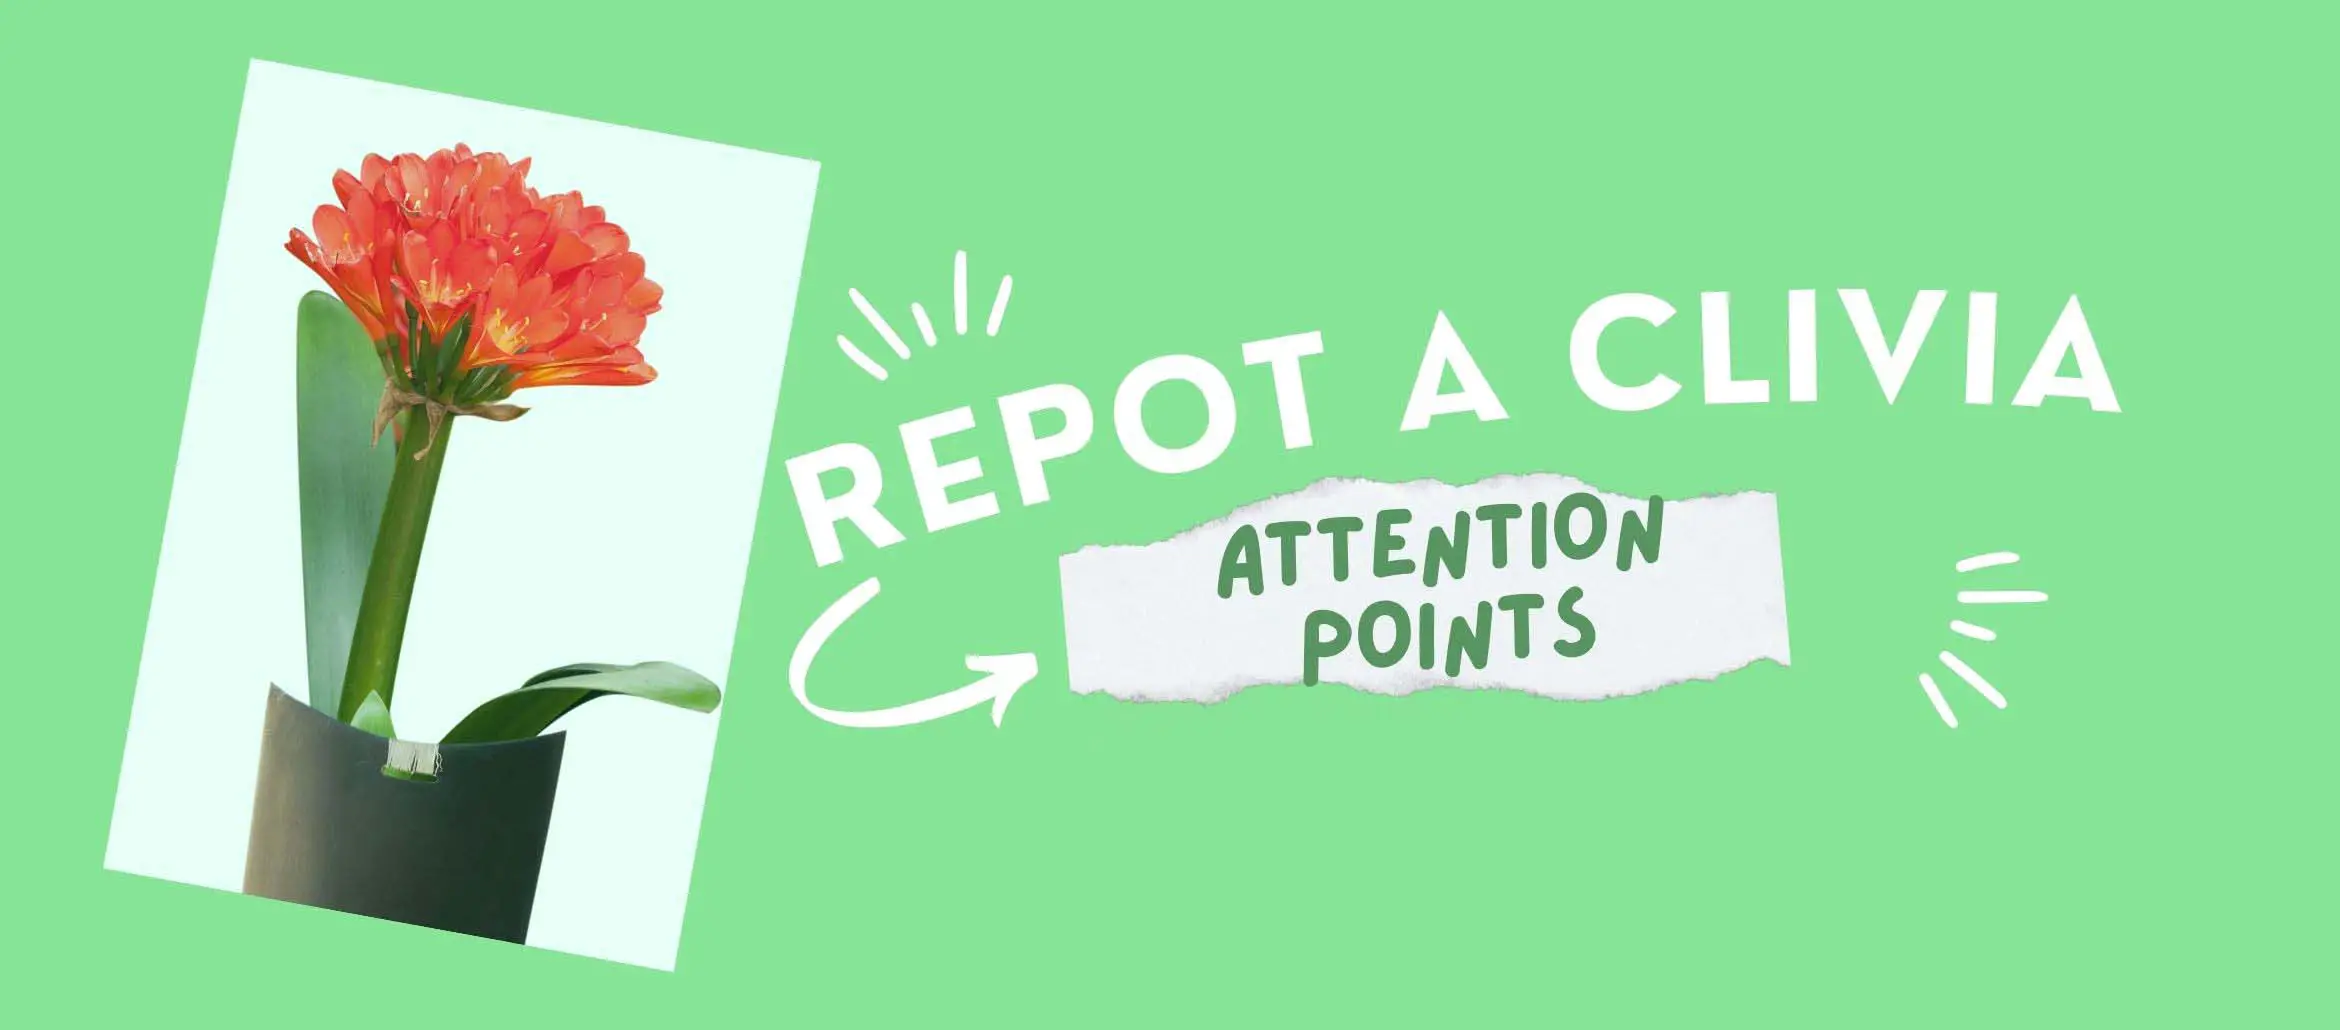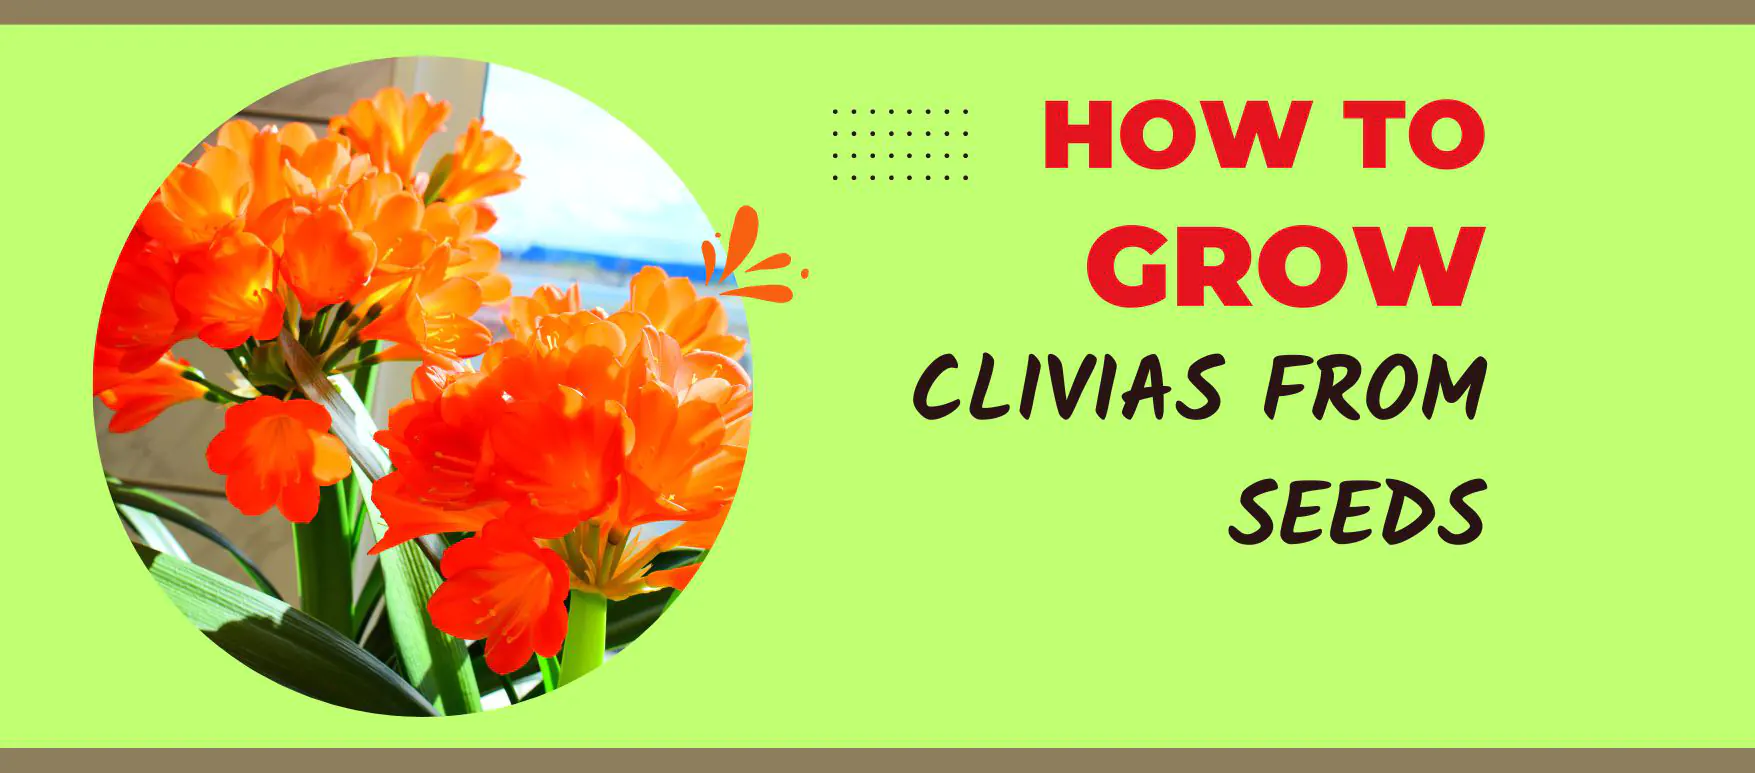
How to grow clivias from seed
Growing clivias from seed is a satisfying and rewarding experience for plant enthusiasts. These striking, flowering plants are easy to care for and add color to any indoor or outdoor space. Starting clivias from seed is a cost-effective way to expand your collection and share them with friends and family.
In this guide, I will go through the steps involved in growing clivias from seed, from collecting ripe seeds to caring for the seedlings. Whether you are an experienced gardener or a beginner, this guide will give you all the information you need to grow clivias successfully from seed.
How to grow clivias from seed?
Collecting ripe clivia seeds
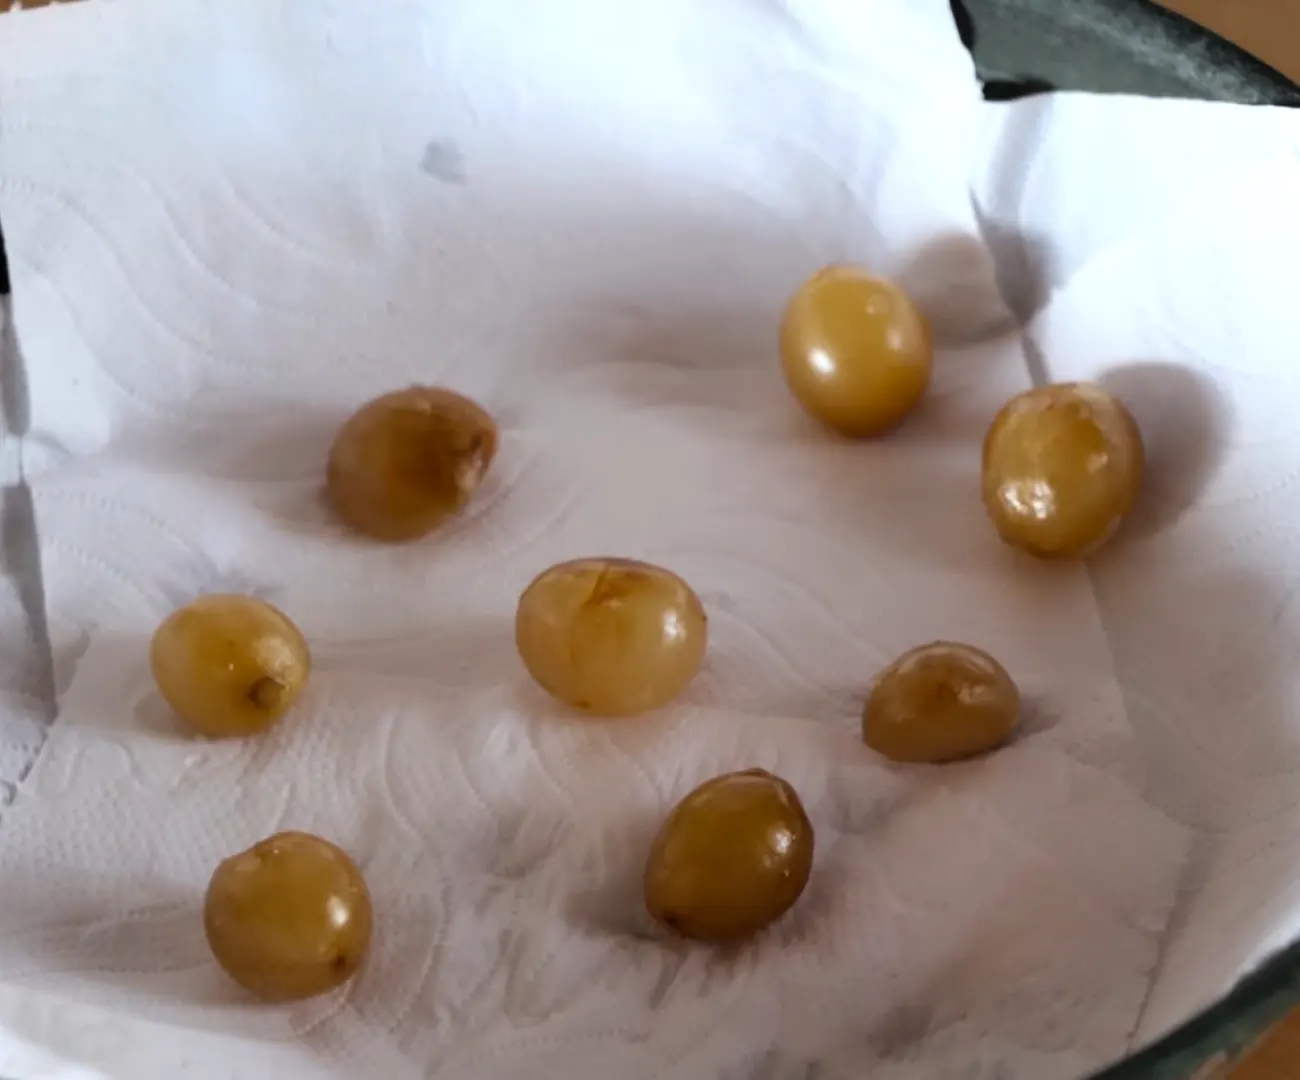
Collecting ripe clivia seeds is an important step for successful propagation. There are several key points to keep in mind when collecting ripe clivia seeds. There are several key points to remember when collecting ripe clivia seeds.
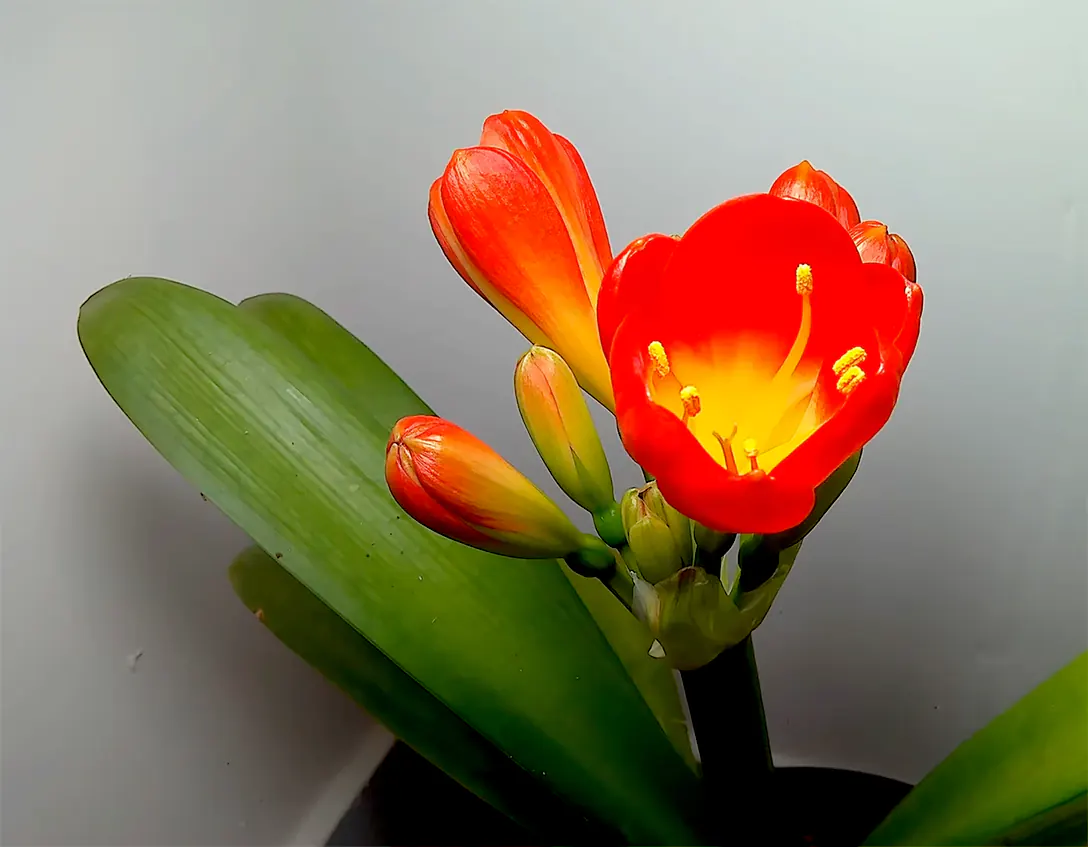
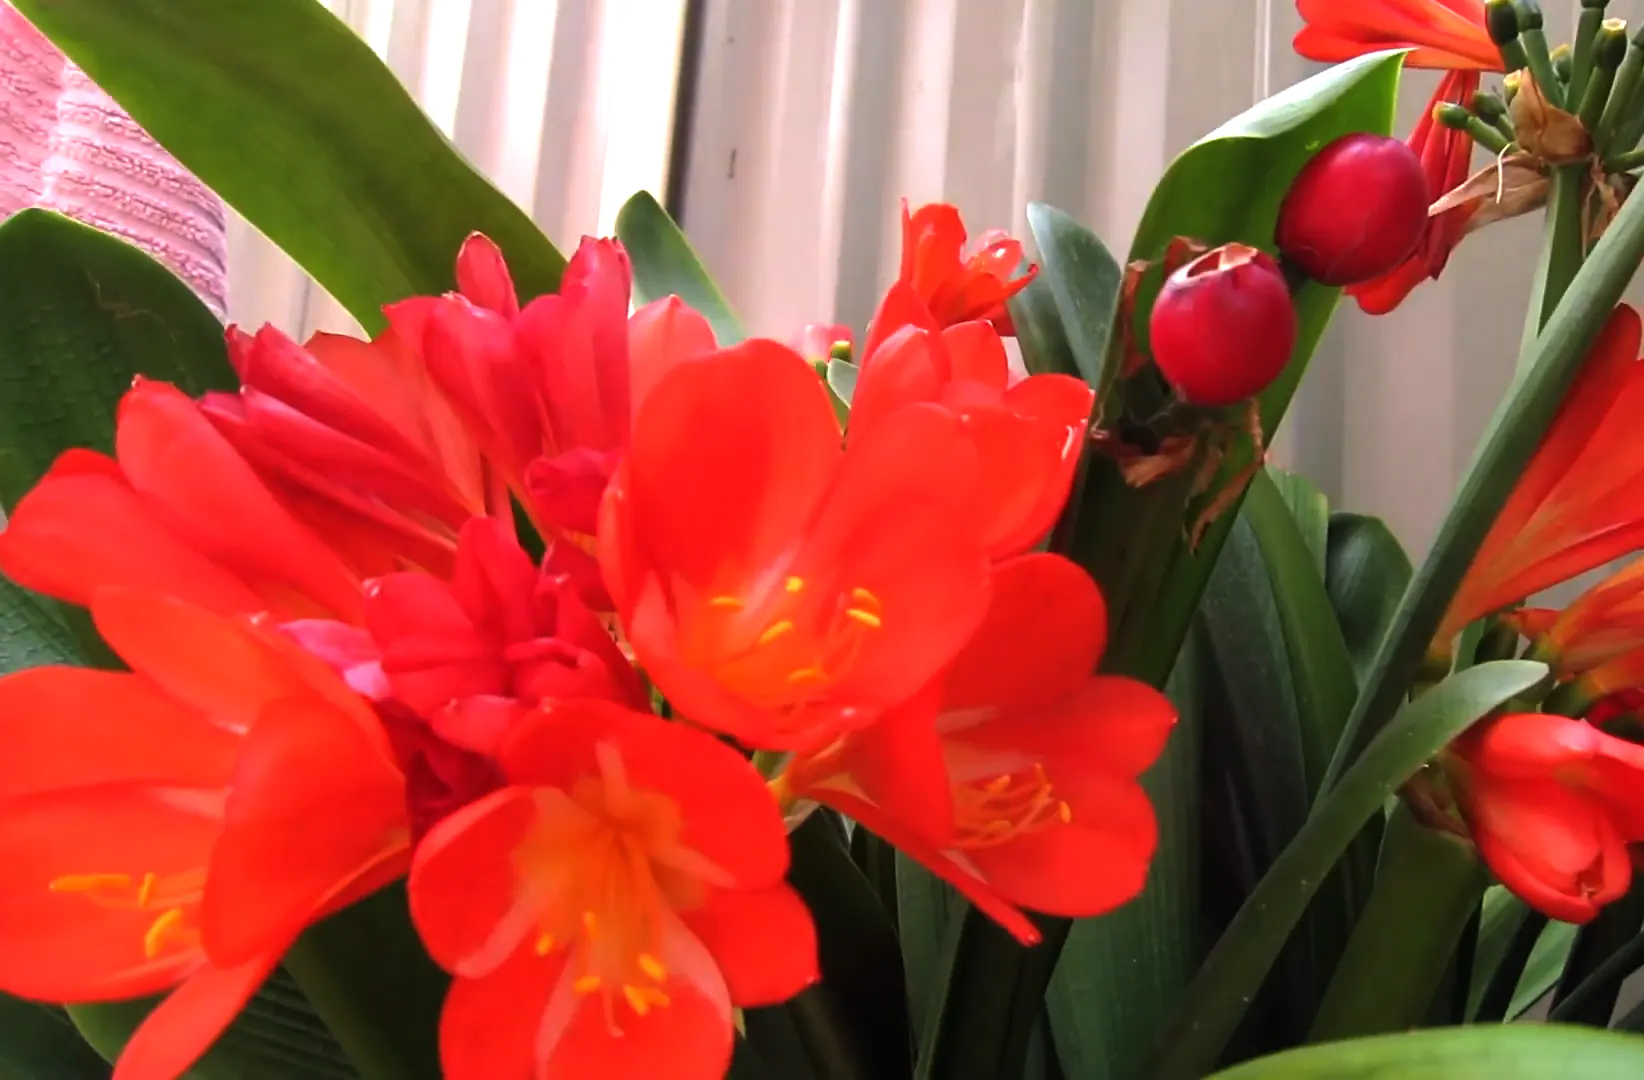
First, look for fruit that has turned an orange, red, or yellow color, as unripe fruit will be green, brown, or off-white. Additionally, gently squeeze or shake the fruit to determine ripeness. Ripe fruit will feel softer and give a little when squeezed, while unripe fruit will feel hard and dense. Checking for cracks on the bottom or sides of the fruit can also indicate ripeness, as the skin will split open as the seeds inside develop.
Once you have identified ripe fruit, cut it open with scissors, a knife, or your fingers and remove the seeds and pulp inside.
Rinse the seeds and pulp in a mesh strainer or colander under cool running water and allow them to drain thoroughly on paper towels.
Air-drying the seeds completely is recommended if you are not planting them immediately, and dried seeds can last for years when stored properly. Collecting seeds from healthy, vigorous plants to produce the best seedlings is important, and collecting seeds from different plants every few years ensures genetic diversity.
Lastly, storing the seeds in a cool, dry location like the refrigerator can keep them viable for several years, and properly dried seeds can last 10-20 years.
Preparing the soil mix for clivia seedlings
A good soil mix is crucial for the successful germination of clivia seeds and the growing of healthy seedlings. Here are some important points to remember when preparing the soil mix.
First, it’s essential to note that clivias have superficial root systems and prefer well-draining soil. The mix should allow for excellent drainage while still retaining some moisture. Components such as peat moss, perlite, and coarse sand are ideal for this purpose.
Peat moss helps with soil structure and moisture retention, while perlite and sand improve drainage. Equal parts of each provide a good balance, although you can adjust the amounts for your desired consistency.
Removing large clumps from the peat moss before mixing ensures it will be evenly incorporated into the mix. Sterilizing the peat moss, perlite, and sand by baking at 350 F for 30 minutes before mixing is also essential. This kills any pathogens or seeds that could compete with your clivia seeds.
It’s also important to note that the ideal pH for clivias is slightly acidic, around 6.0 to 6.5. You can add an acidic amendment such as sulfur to lower the pH if needed and test the pH of your mix before planting seeds.
The mix should be loose, crumbly, and able to absorb and retain moisture while still providing good aeration. Seedlings should dry out slightly between waterings after germination. Adding a bit more perlite or sand can improve drainage if you notice signs of overwatering like wilting or seedling drop.
This well-draining mix is also preferred by clivia offsets and young plants and helps establish healthy root systems.
Finally, fertilizing clivias once seedlings develop their first true leaves with a balanced, all-purpose fertilizer at 1/2 the recommended strength is recommended.
Planting clivia seeds
Growing clivia plants from seeds can be a rewarding experience for any gardener. Proper preparation of the soil mix is crucial for germinating clivia seeds and growing healthy seedlings.
It is recommended to use a shallow seed tray, flat, or pots that are at least 6 inches deep, as clivia roots do not have an extensive deep root system. Fill the containers with the well-draining clivia soil mix and tap the bottom of the containers on a hard surface to provide a firm base for seed germination.
Place the seeds on the surface of the soil mix, around 1/4 inch deep, without burying them too deeply, and cover them with a light dusting of additional soil mix. This helps retain moisture but still allows light to reach the seeds. Ensure the seedlings are kept moderately moist while germinating, and only water when the top few inches of soil are dry. Overwatering can lead to the rotting of small seeds.
Place the seeded trays in a warm spot out of direct sunlight with an ideal temperature of 70-75 F for germinating clivia seeds. Once the seedlings develop their first true leaves, you can provide more light, such as bright indirect light or filtered sunlight. Additionally, placing them outdoors for brighter light is beneficial once all chances of frost have passed.
To obtain mature clivia plants more quickly, harvest undersized offsets from your well-developed seedlings and plant them. Larger offsets will establish better and produce flowers sooner. It is important to allow clivia seedlings to grow for 3-5 years before moving them to their permanent location in the garden. This gives them stronger root systems and helps them adapt better to new conditions.
Providing the proper conditions will give your clivia seeds the best chance of germinating successfully and growing into healthy seedlings and mature plants.
Watering and covering clivia seeds
Creating a humid environment around them after planting is crucial for the successful germination of clivia seeds. Here are some tips to achieve that:
To keep the soil moderately moist, water it lightly after planting the seeds, adding water until it reaches the depth of the seeds, which is around 1/4 inch. However, avoid saturating the soil. After that, cover the seeded containers with plastic wrap, clear polyethylene sheets, or a row cover. This will create a humid microclimate around the seeds, which aids germination.
To maintain humidity, secure the covering around the edges of the container with rubber bands, twist ties, or clips. You can also punch air holes or vents in the covering material.
Next, place the covered containers in a warm spot from direct sunlight. Clivia seeds require a temperature of 70 to 75 F for germination. Indirect sunlight or bright light is best, as direct sunlight can dry out the seeds quickly.
While maintaining humidity under the covering, keep the soil moderately moist. Check regularly to ensure it doesn’t dry out, and water lightly when the top inch or so of soil is dry to the touch.
Once the seedlings develop their first true leaves and roots, they gradually reduce humidity and acclimate to more normal conditions. While still providing shade and moisture, gradually remove the covering. As seedlings develop, provide more light and moderately increase water and fertilizer amounts. Gradually open seedlings to increase air circulation, humidity, and heat to avoid stress.
Additionally, monitor seeded containers for signs of fungal or bacterial disease and remove affected seedlings or seeds. Ensure good aeration and drainage to prevent disease in growing seedlings. Once the seedlings are 3-4 inches tall and well rooted, they are ready to transplant into their own containers, with climate control no longer needed.
Proper humidity, temperature, and moisture control are key during the germination of clivia seeds. Following these tips will help you achieve good germination rates and develop healthy seedlings.
Germination of clivia seeds
Germinating Clivia seeds can be a time-consuming and delicate process, but with the right care and attention, it can be a rewarding one. To ensure successful germination, there are several important tips to follow.
Firstly, patience is key when it comes to germinating Clivia seeds. They can take 2 to 3 months to germinate from planting, and not all seeds will germinate simultaneously. So, it’s important not to get discouraged if you don’t see sprouts immediately.
Next, keeping the soil moderately moist but not soggy is important. Checking soil moisture regularly and watering when the top layer is slightly dry to the touch is recommended. Letting the soil dry out slightly between waterings allows for proper aeration and oxygen flow to the seeds, which aids germination. Only water when the top soil is dry to prevent root rot.
Maintaining warm temperatures around 70 to 75 F is also important for Clivia seeds to germinate. Colder temperatures can inhibit germination, so placing containers in a warm spot out of direct sunlight is essential. You can also cover seeded containers to help retain humidity, but this is not essential. If you see any signs of excess moisture or disease, it’s best to uncover the containers.
Fertilizing very lightly once seedlings develop the first true leaves if at all, is recommended. Clivia seeds have stored food reserves to support initial growth and do not require fertilizer for germination. Only fertilize very weakly, if at all.
As the seedlings develop and grow taller, provide increased light by placing the containers in bright light, such as near a sunny window. Outdoor light is best once all chance of frost has passed. Regularly checking the containers for any signs of disease or pests, which can kill developing seedlings, is crucial. Remove and destroy any infected seedlings to prevent spreading.
Gently teasing apart seedlings, once they become well established to promote bushiness and separate into smaller clumps if desired, is also recommended. Well-developed offsets can also be removed for new plants.
Finally, transplant seedlings into larger containers once they become pot-bound or fill the container. This allows for continued healthy growth and development. By following these tips, you can successfully germinate your Clivia seeds into healthy seedlings.
Transplanting clivia seedlings
Transplanting clivia seedlings is a crucial step in their growth and development. Following the right techniques can help ensure that the plants continue to grow in a healthy manner. Here are some useful tips for transplanting clivia seedlings.
Firstly, it is essential to wait until the seedlings develop 3-4 true leaves and become well-established before transplanting them. This helps the seedlings have a stronger root system, which can handle transplant shock.
Secondly, use pots one size larger than the seedling trays to provide more space for continued healthy growth. Liners, 4-6 inch pots, or 12-inch containers work well for clivias.
It is important to fill the pots with the same well-draining clivia soil mix that was used to start the seedlings. The soil should not have large clumps and should drain correctly. Before transplanting, water the seedlings thoroughly the day before to minimize water loss after transplanting.
When transplanting, gently remove the seedlings from the trays by inverting them or teasing apart the roots. Trim the roots as needed to encourage bushiness. Place the seedlings in the new pots at the same depth as in the trays and gently firm the soil around the stems and roots with your hands.
After transplanting, water the seedlings thoroughly to keep the soil consistently moist. Check the soil daily for a week until the seedlings are established, and water when the top inch of soil is dry. Place the pots in bright light without direct sun. Indirect light, filtered sun, or light near a sunny window is ideal, as direct light can cause leaf scorch.
It is advisable to maintain slightly lower temperatures, around 65 F, for the first few days after transplanting to reduce stress. Then raise the temperature to normal levels. Fertilize the seedlings very lightly, if at all, for a few weeks after transplanting until they are well established. Use a balanced, diluted fertilizer, as too much fertilizer can damage underdeveloped root systems.
Gradually acclimate the seedlings to more sunlight and normal fertilizer amounts based on your climate. This helps them harden off for eventual transplanting outside. After transplanting, inspect the seedlings regularly for any signs of stress or disease. Pests and disease can be problematic for seedlings with stressed root systems. Treat promptly if found.
Following these tips can help ensure that your clivia seedlings grow into healthy, mature, and flowering plants. It is important to take the time to prepare the seedlings and follow good transplanting techniques to maximize your success.
Caring for clivia plants
Clivia plants are beautiful and relatively easy to care for, but there are a few important things to keep in mind when it comes to their care, whether you have clivia seedlings or mature plants. Here are some tips to help ensure your plants stay healthy and vibrant:
Firstly, keeping the soil moist but not too wet is essential. Watering the plants when the top few inches of soil are dry to the touch is ideal. Be sure to water the plants in the morning so the foliage has time to dry out before nighttime, which reduces the chance of fungal issues. Clivia roots do not like to sit in water.
When it comes to fertilizing, lightly fertilize seedlings and young plants once their roots are well established. However, avoid heavy fertilization, as too much fertilizer can damage the roots. A balanced, diluted fertilizer (half the recommended strength) can be used during the active growing season. Mature plants can be fertilized during the spring and summer according to the instructions on the fertilizer packaging. It is recommended to discontinue feeding in the fall to allow for dormancy.
Reducing watering and fertilizing in the fall and winter, limiting watering to keep the soil moderately moist but not soggy, and stopping feeding completely once nighttime temperatures start dropping will help the plants establish dormancy. In the spring, once new growth starts emerging and nighttime temperatures remain above freezing, resume normal watering, fertilizing, and light levels to help break dormancy and restart the growing season.
It is also essential to plant clivias in well-draining soil with organic matter like compost or peat moss. This provides moisture retention while still allowing for good drainage. Soggy soil leads to root rot. Mulch around the base of plants to help retain soil moisture, especially in hot or dry weather. Use an organic mulch and keep it a few inches away from the stems.
Group clivias together based on their light and water needs. Full sun and shade lovers have different requirements, and clustering the same types together simplifies care. It is important to watch for common pests such as aphids, spider mites, mealybugs, and scale. Treating them promptly with the appropriate method, such as insecticidal soap or neem oil is crucial, as unchecked infestations can damage the plants.
Finally, provide shade protection for containers or those grown in hot climates. Seeking shade in the hottest part of the day prevents leaf scorching and helps the roots stay cooler. Following these tips will ensure that your clivias thrive and remain healthy for years to come.
Summary
Growing clivias from seed is an enjoyable and fulfilling experience for many gardeners. To start, the ripe seeds must be collected and washed to remove any fruit residue. Next, a soil mix should be prepared by combining peat moss, perlite, and coarse sand.
After planting the seeds in a shallow tray or container filled with the soil mix, they should be covered with a thin layer of soil and watered lightly before being covered with plastic wrap. The container should be placed in a warm, bright location but not exposed to direct sunlight.
The germination process typically takes 2-3 months, during which the soil must remain moist. Once the seedlings develop several leaves, they can be transplanted into individual pots filled with the same soil mix and given bright, indirect light.
Consistently moist soil and balanced fertilizer in the spring and summer months will help clivias mature and bloom beautifully.